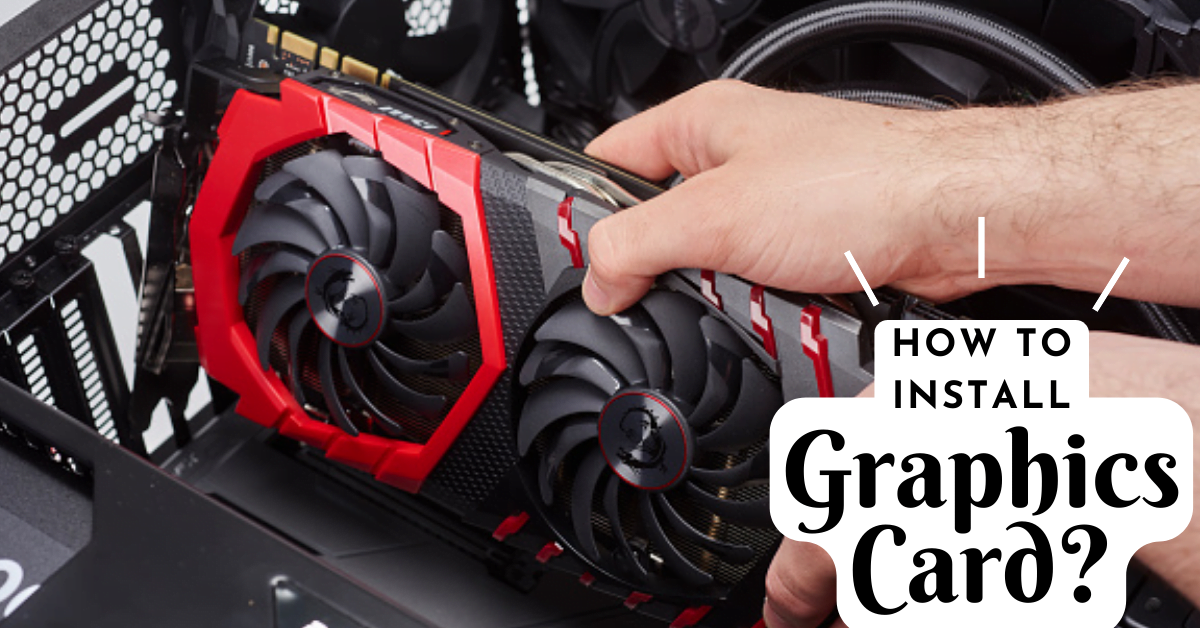
How do I install a graphics card?
How do I install a graphics card? Graphics cards are a crucial component of modern computers. They play a significant role in how we use our machines. Whether you’re a gamer or a video editor, a powerful GPU is likely hiding under the hood of your computer. Companies like Nvidia and AMD are constantly innovating, releasing new graphics cards every year that offers more power than the previous generation.
For those who are unfamiliar with graphics cards, a GPU, or graphics processing unit, is the processor responsible for processing graphical data and providing display output to monitors. Since the CPU cannot perform many tasks simultaneously, you will need to install a new graphics card for rendering brilliant 3D images. A GPU is a specialized component that excels in graphical processing. It is a critical component for enhancing the visual experience of your computer.
Upgrading your graphics card can seem intimidating, especially if you haven’t worked inside a computer before. However, with the right tools and a little guidance, the process can be straightforward and can make a world of difference in your gaming experience. If you’re interested in upgrading your GPU, be sure to have a budget in mind. Grab a screwdriver, and you’ll have a new, beefy graphics card installed in no time.
Don’t be left behind while others enjoy amazing graphics and performance. With the right graphics card, your computer can achieve the same stunning results.
Steps to do before installing a graphics card:
Check the case space:
Measure the length of your new graphics card to ensure that it fits in the space available in your PC case. Most cards require two expansion slots, but some may take up to four.
Check the power supply requirements:
Make sure that your power supply can handle the power requirements of the new graphics card. The card will usually have power connectors on the opposite side to the PCIe connector and a power rating that needs to be matched with your PSU.
Check the expansion slots:
Ensure that your motherboard has a PCIe slot to install the graphics card. This slot is longer than other expansion slots and will have a clip on one end.
Check the case cooling:
Make sure that your case has adequate cooling for the graphics card.
Open the computer case:
Disconnect the power cable and all peripherals before removing the side panels. Remove the panel on the opposite side of the motherboard for easy access to the motherboard.
Ensure the power supply is adequate:
Check if your power supply is capable of providing enough power to the graphics card. If not, consider upgrading your power supply.
Check for PCI-E connectors:
Make sure that your power supply has PCI-E connectors.
Check the maximum wattage:
Find the maximum wattage of your power supply, which should be printed on a sticker.
Ensure the card will fit:
Use a tape measure to check the vertical and horizontal clearance available in your case. Check the dimensions of the graphics card to make sure it fits before purchasing it.
Step-by-Step Guide for Installing a Graphics Card:
Step 1:
Preparing Your PC
- Unplug your power supply and remove the side panels of your computer case.
- Tip the case on its side to access the components inside.
- If you already have a graphics card installed, remove it by unscrewing the screw and pulling it straight up.
Step 2:
Uninstalling Old Drivers
- Open the Device Manager and expand the Display Adapters section.
- Right-click on your current display adapter and click Uninstall.
- Follow the prompts to remove the driver from your computer.
- Power down your computer after uninstalling the drivers.
Step 3:
Grounding Yourself
- Make sure you are standing on tile or linoleum and not on carpet.
- Unplug your computer from the wall.
- Use an anti-static wrist strap attached to exposed metal in your case or touch a metal water tap to ground yourself.
Step 4:
Removing Existing Card
- Locate the PCIe slot on the motherboard.
- Disconnect any displays plugged into the old card.
- Unscrew the screw connecting the card to the chassis and release the tab underneath near the back of the PCI slot.
- Pull the card straight up to remove it without damaging the PCI slot.
Step 5:
Installing the Card
To install a new graphics card, follow these steps:
- Remove the new card from its antistatic bag, avoiding touching any of the contacts or circuitry.
- Insert the card into the empty PCI-e slot and apply even pressure to the top until it is fully seated and securely in place.
- Make sure no cables or any other components are blocking the way and that the card is seated properly in the slot.
- Close the computer case and connect your display to the new graphics card using either HDMI, DisplayPort, DVI, or VGA.
- If necessary, connect the required power supply cables to the graphics card.
- Start the computer and check if everything is working properly.
- If everything is working fine, screw the rear bracket of the graphics card on the case to secure it in place.
- If the computer does not turn on or no signals are sent to the monitor, double-check that all cables are connected correctly and the GPU is seated properly in the PCIe slot. If the problem persists, seek help from a local computer repair store.
With these steps, you’ll have your new graphics card installed and ready to run in no time!
FAQs:
Can I just add a new graphics card to my PC?
To remove the outdated graphics card, first, disconnect it and loosen its fixation to the computer casing using screws. Secures the card in place by applying a gentle force, either pushing downwards or pulling upward. Now, you can effortlessly extract the old graphics card and replace it with the new one.
How do I know if my graphics card is compatible with my motherboard?
Inspect the motherboard of your PC for multiple expansion slots. Usually, these slots are PCI Express, but for a graphics card, you require a PCI Express x16 slot. It's important to note the compatibility between graphics cards and motherboards, as motherboards come in varying sizes and formats that may not accommodate larger and more advanced graphics cards. Fortunately, many of today's modern GPUs are designed to work with a wide range of motherboards
What should be the size of the memory of a new graphics card?
The amount of memory required in a graphics card ultimately depends on the desired resolution, as well as the specific games. For gaming at 1080p resolution, you should have a graphics card with at least 6GB of memory. Ideally, 8GB or more memory is good for optimal performance. The memory requirement increases with higher graphics. For HD or Full HD video editing, budget-friendly a 2GB graphics card is sufficient, however, for 4K editing a high-end graphics card is necessary.
Conclusion:
This article is a complete insight into how to replace the graphics card of your PC. I have explained all the necessary steps in detail. Take a deep look at these steps.
If you have followed all the steps, congratulations your computer is prepared for the installation of a new graphics card.
If you have any further queries, please let me know.


